

This blog is part of the following series:
- Installing and configuring the Lotus Domino Server – Part 1
- Search Lotus Notes Documents from SharePoint 2013 – Part 2
- Search Lotus Notes Documents from SharePoint 2013 – Part 3

Recently I was installing the latest Lotus Domino Server 9 for my development work and wanted to share the steps here. I have used a Windows 2008 Server R2.
You can download the trial version of Domino Server 9 before starting the installation.
Steps
Step 1: Start by installing the Lotus Domino server on server1.
- This is the executable file we are now going to install. Double click and start 🙂

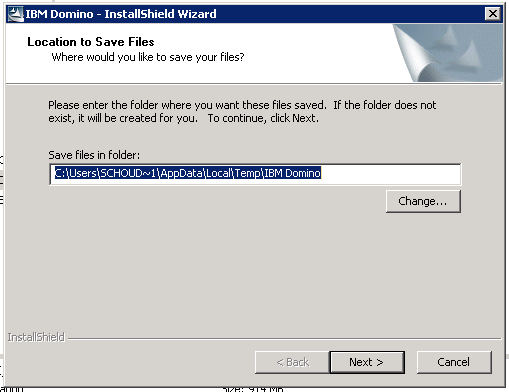
Step 2: Accept the defaults and click Next. The files are now being extracted for installation.
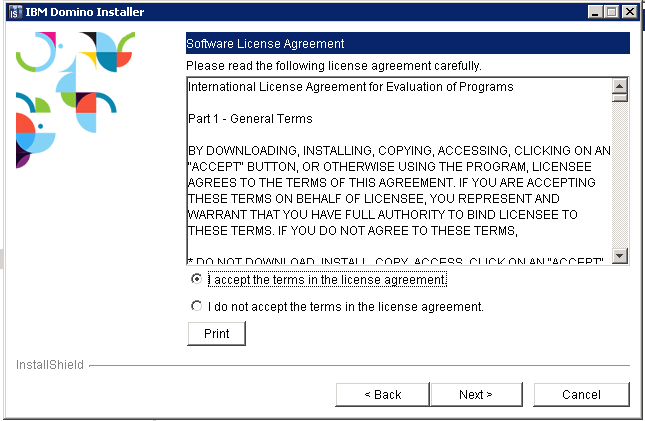
Step 3: The install wizard has now started. Click Next to advance to the following screen.
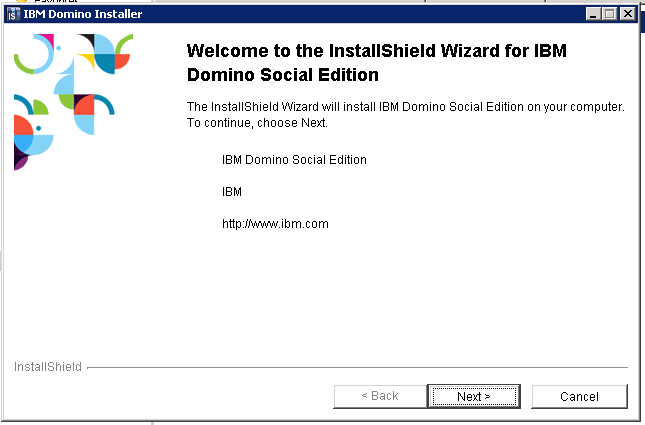
Step 4: Click Next to Continue
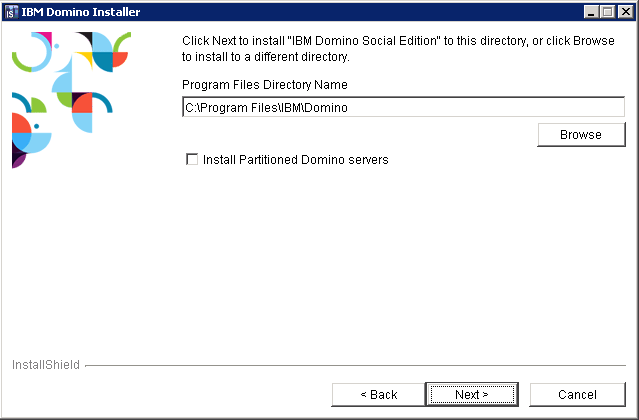
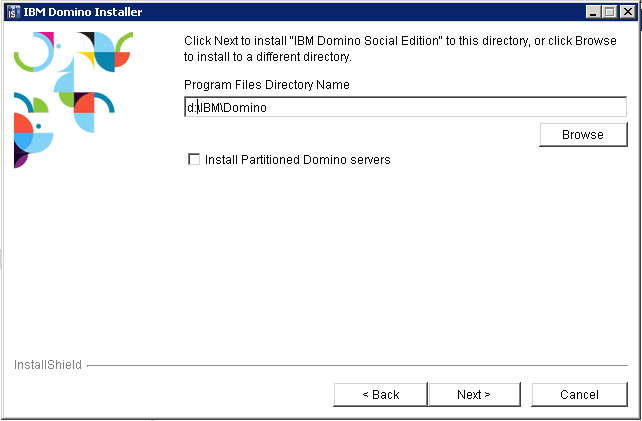
Step 5: Enter the Domino server program files File path. I am changing it to another folder.
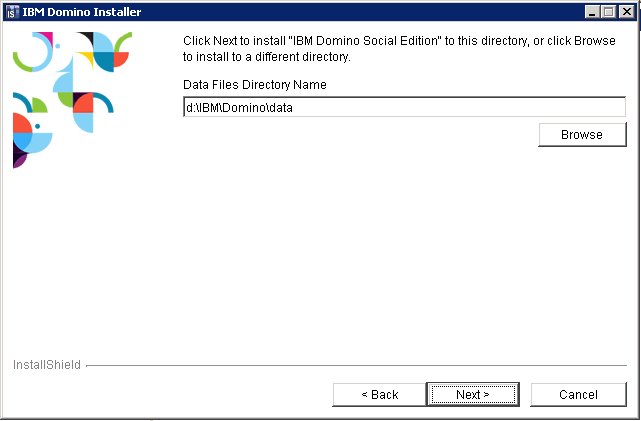
Step 6: The path where the data files get installed is now directing the new path. Accept and continue.
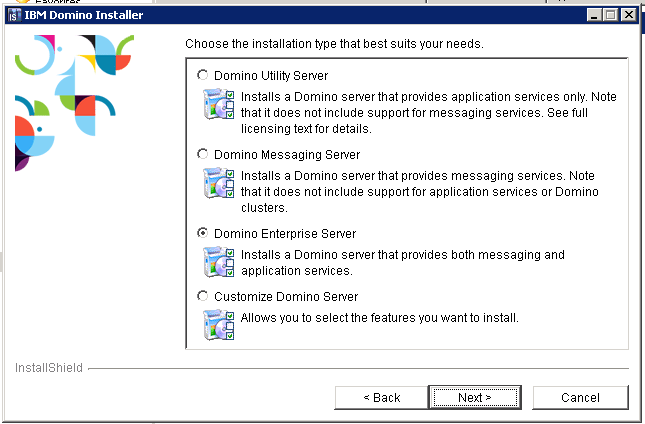
Step 7: Choose the Enterprise server from the options given.
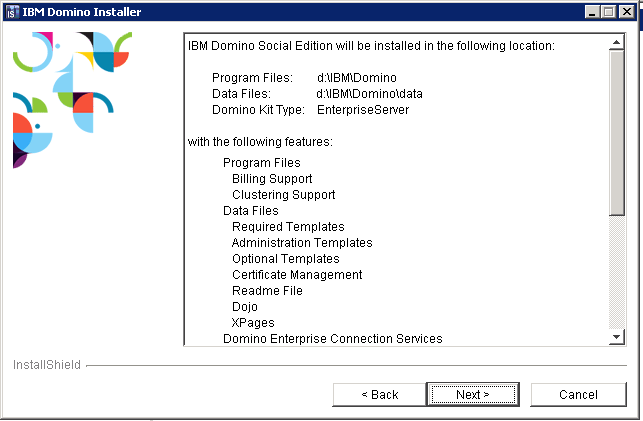
Step 8: A screen is now displayed that shows the choices made. After this the actual installation starts.
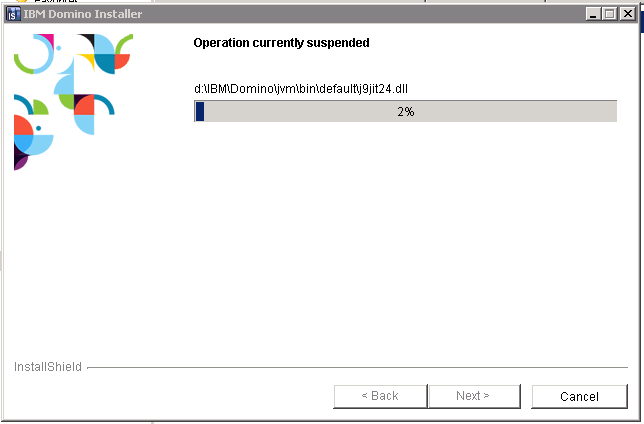
Step 9: Now we wait for the installation to finish.
Step 10: Lotus Domino server is now installed.

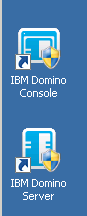
Step 11: We now see 2 icons after the installation is complete on the Desktop of the server. First one is Domino console. 2nd one is the Actual Domino Server. Now we are going to start the Domino Server.
Click the server icon and continue.

Step 12: Start Domino Server configuration
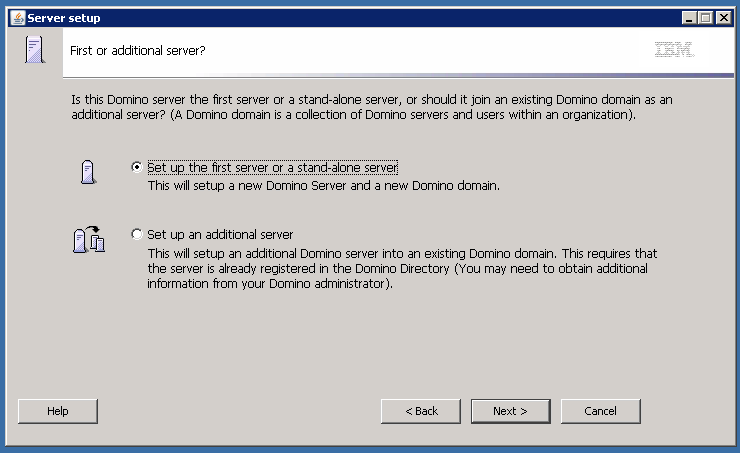
The next screen provides 2 options:
- Setup the first server or a standalone server
- Setup an additional server
This is our first time installation, so we are choosing “Setup the first server or a standalone server”. Click next to continue.
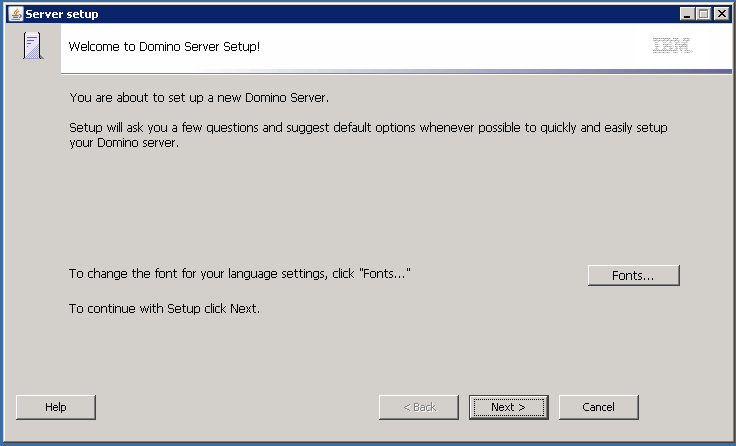
Click Next to continue
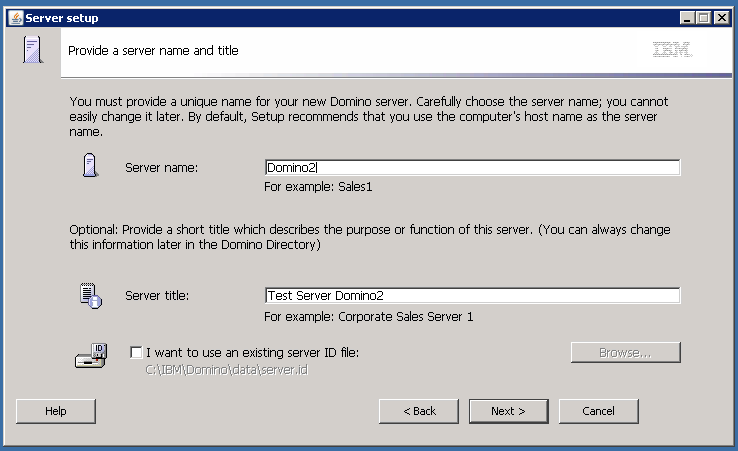
Enter the server name as “Domino2”. So this server is going to be named Domino2/<name>. The <name> part will be filled in later. Click next to continue.
This screen is one of the most important screens in configuring a Notes/Domino environment. This will also give a file (cert.id) and the password.
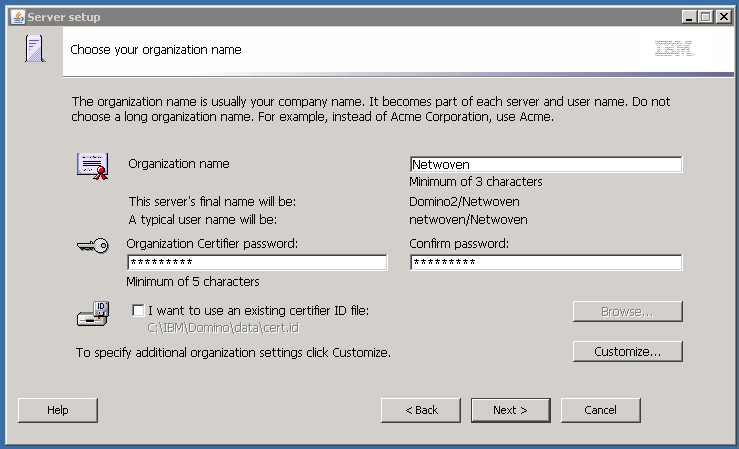
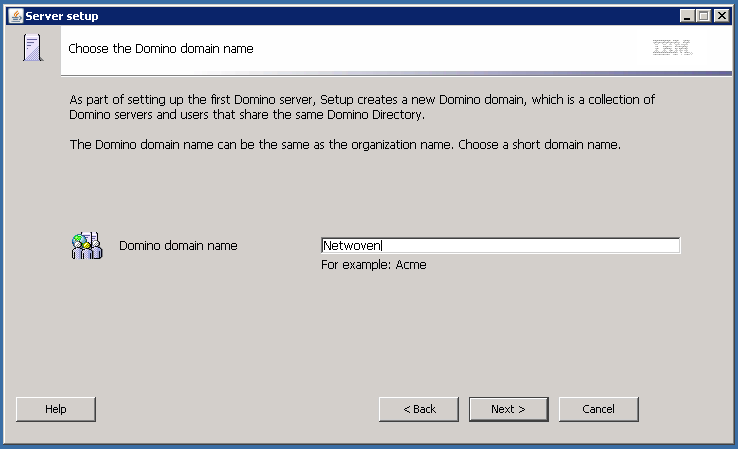
Enter Domino Domain Name. We are giving the Organization name here, but it can be random.
Click Next to continue
In this screen we’ll register an administrator account. Here I am going to enter my name, but it can be any user, just make sure that it is a “unique” name
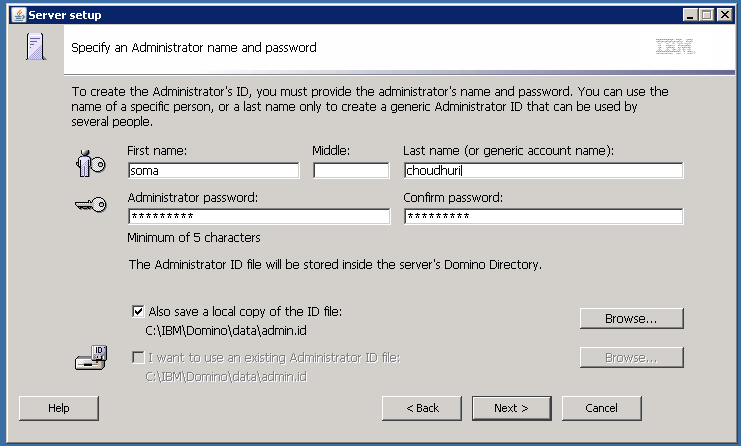
We’ll also save a local copy of this ID file, as we will use that later on. Click Next to continue.
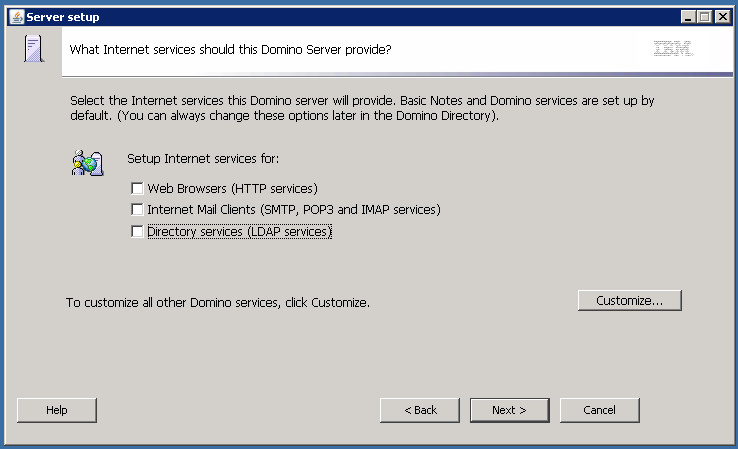
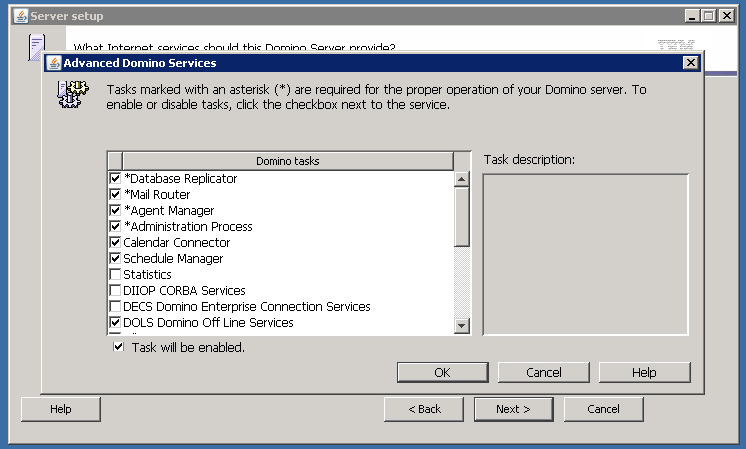
The next screen allows us to enable/disable various services we want to load on our server. We’ll uncheck all for now and click Customize.
Click Cancel, and continue with Next in the previous screen.
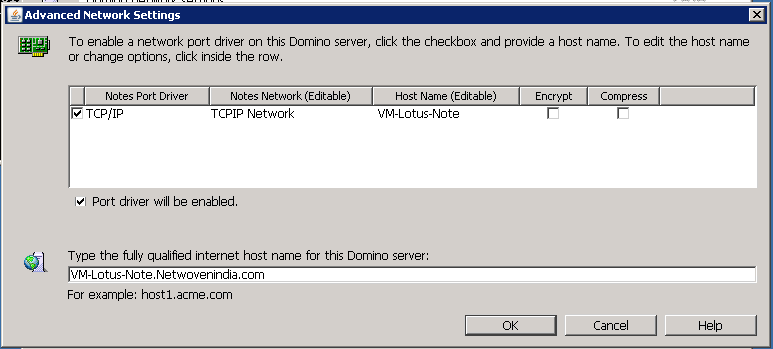
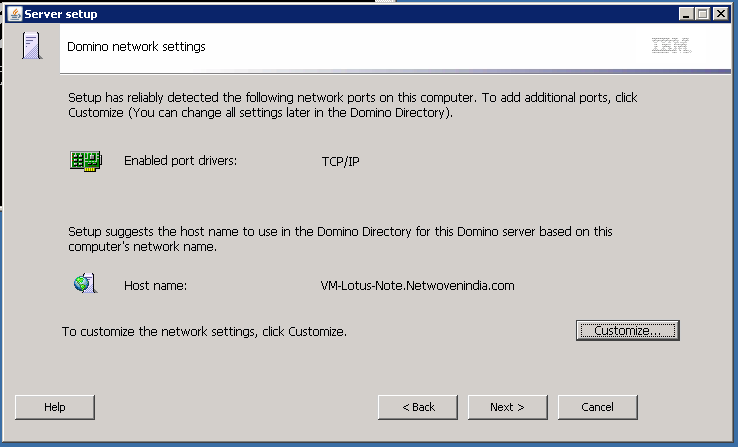
We can configure the network settings from this screen. Make sure the hostname listed is ping-able on both the server and all clients in the network. Click on customize to configure this.

Enter the hostname in both highlighted fields and click on Ok to close the dialog.
Click Next to advance to the next screen.
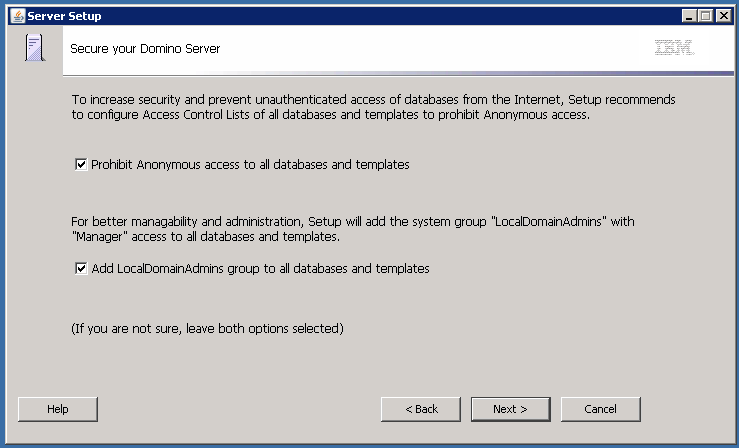
Accept the defaults in this screen, as it increases the standard security level.
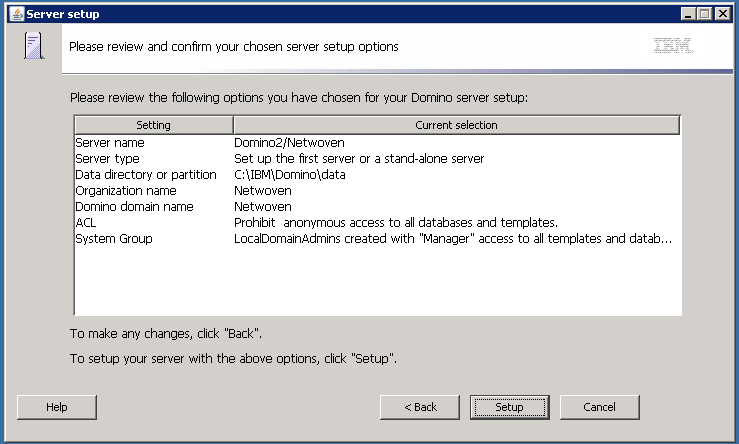
Review your settings and click Setup to continue the configuration setup.
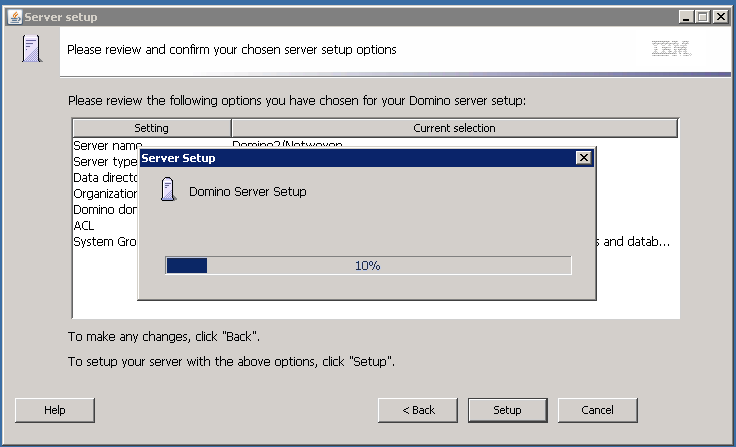
Wait until this process completes.
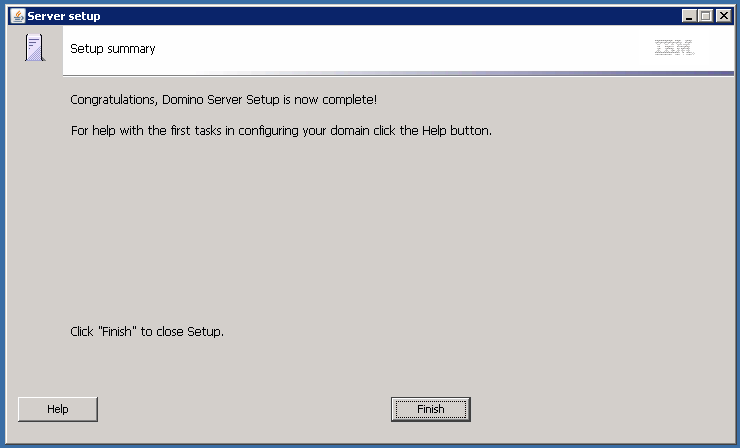
Congratulations, the installation has now been completed.
We now have 3 very important files that are the base of a Lotus Domino environment.
- The Certifier ID (cert.id)
- The Server ID (server.id)
- The Administrator ID (admin.id)
These files should be kept safe at all times, as they will allow you to do all the interesting things.
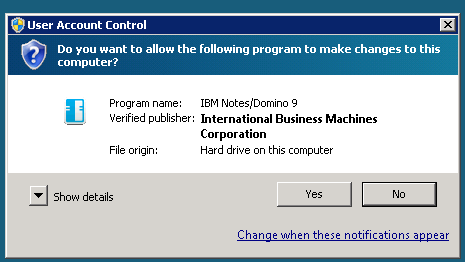
Start Domino Server. Double click the Lotus Domino server icon on the Desktop.
When you click that, you’ll get the following prompt.
The following screen display’s:
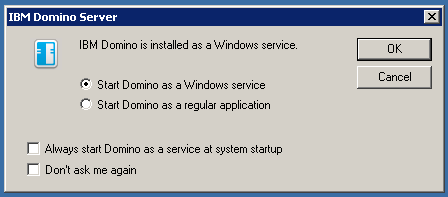
We choose “Start Domino as a Windows service” and we check both checkboxes at “Always start Domino as a service at system startup” and “don’t ask me again” before clicking OK.
The server now started in the background, so we double click the “Lotus Domino Console” icon on the desktop. When you click that, you’ll get the following prompt :

The Lotus Domino Console application lets you view the Lotus Domino server console, and here we are allowed type in commands directly on the server.
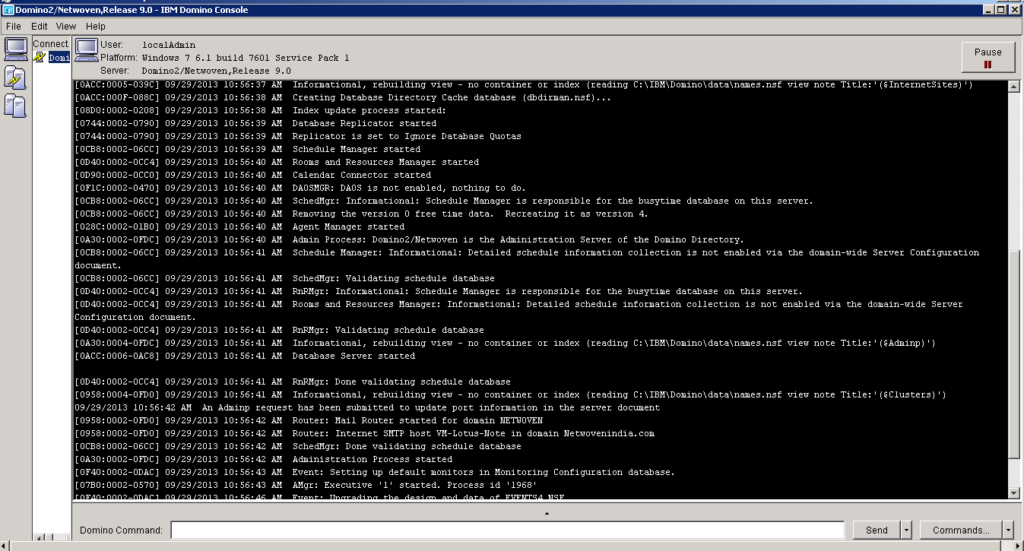
Now your Domino server is ready. Next step is to install a Lotus note Client.
Note: if you want to run your Domino server as a web server, type the command “load http” and send in the Domino Console.
Looking forward to your comments and questions!


Amazing explanation. thanks