

Exchange Cut-Over Migration to Office 365
Overview:
An organization can migrate a maximum of 1,000 Exchange 2003, Exchange 2007, or Exchange 2010 mailboxes to the cloud using a cutover Exchange migration. To migrate more than 1,000 Exchange 2003 or Exchange 2007 mailboxes, you can perform a staged Exchange migration.
You can’t migrate Exchange 2010 mailboxes using a staged Exchange migration. Therefore, to migrate more than 1,000 Exchange 2010 mailboxes, you must implement a hybrid deployment.
For more information, see Exchange Hybrid Deployment and Migration with Office 365.
Caution:
Assuming that you have a valid office 365 subscription and Directory Sync is not enabled. Cutover migration provisions users into office 365 and hence directory sync should be disabled prior to migration.
Steps:
A Cutover migration to office 365 involves in a set of steps that the Microsoft team has well documented to move on on-premise exchange (2003,2007 & 2010) mailboxes into a different service. We will look into how to move on-exchange 2010 to office 365 tenant. Following steps can outline the entire process.
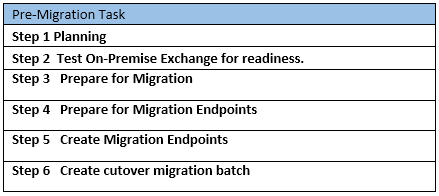
Step 1. Planning
Microsoft has provided a solution for all three types of exchange migration
- On-Premise
- Hybrid
- Cloud only
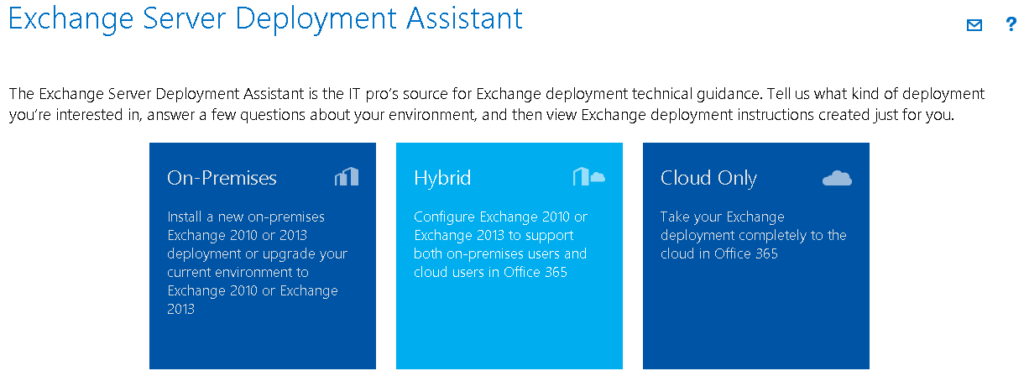
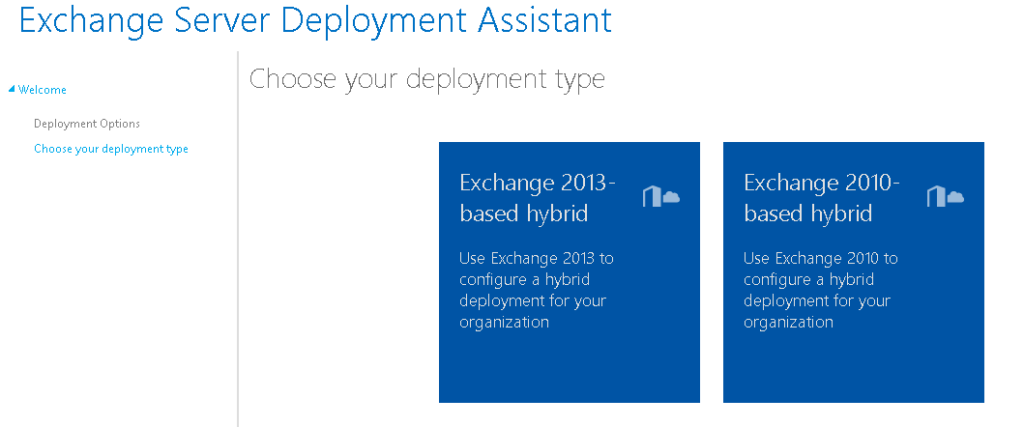
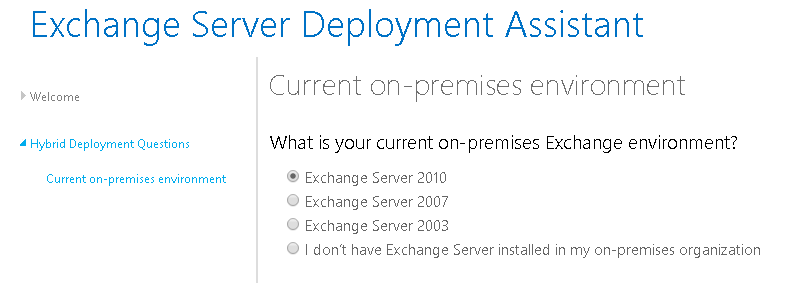
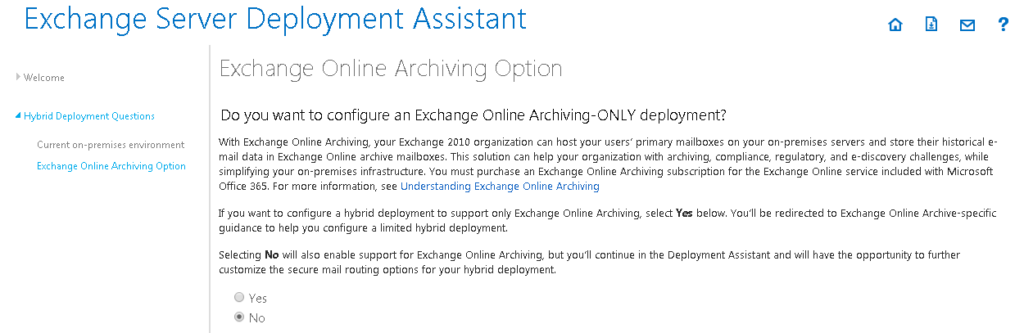
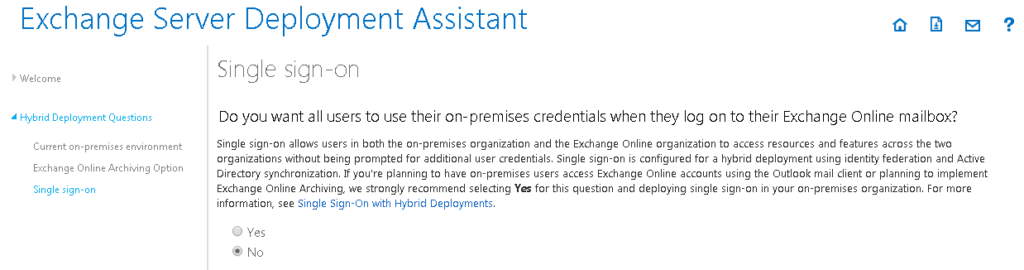
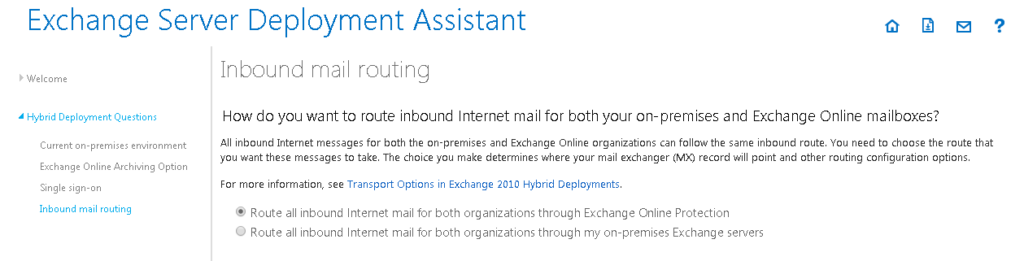
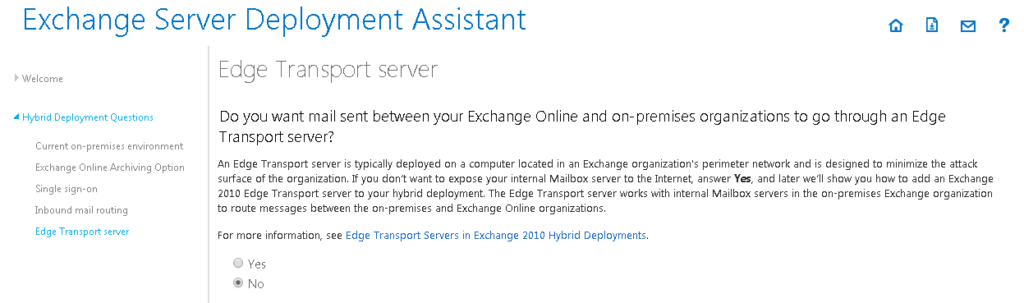
Goto Exchange Deployment Assistant site to perform an assessment of your present exchange deployment. Follow the on screen steps to perform the tests.
Step 2. Test On-Premise Exchange for readiness
Setup Assistant app gathers the following discovery information:
- On-premises infrastructure servers and components
- Network architecture and Domain Name System (DNS) settings
- Authentication solutions
- Directory design
- Bandwidth
- Mail routing, mail and other client applications, mail archiving and compliance
Certificates - Hardware and software
- Current Office 365 configuration, including:
- Any custom domains you may have set up
- DNS settings already configured
- Current service settings
After deployment recommendations are accepted, Setup Assistant runs automated readiness checks to identify potential blocking issues for the selected options and make sure you’re ready to deploy:
- Office Setup – We’ll check your PC’s Outlook configuration as well as several other Office settings.
- Computer Settings – We’ll check to see you have the latest updates on your PC, Internet browsers, and other configuration settings.
- Domains – We’ll check your Office 365 domains and DNS settings to verify that you’re good to go with the updates you need to complete your domain registration.
- Users and Groups – We’ll check if your organization uses Active Directory, and we’ll evaluate if you’re ready for directory synchronization and single sign-on.
Steps
- Log on to a computer in your organization by using administrator credentials. If your organization uses a domain, make sure this is a domain-joined computer.
- On the same computer, log onto your Office 365 tenant by using administrator credentials.
- If your Office 365 tenant is on its first 30 days, on Welcome, Office 365 is ready to go page, choose Configure Office 365.
Or, in the Office 365 admin center, choose the setup tab.
- On Setup Assistant page, make sure your computer meets the software requirements listed. If not, you can choose any of the provided links to install the missing items.
Choose next to install the Setup Assistant app.
If you choose continue without installing app, you will be directed to a list of feature selections that give you options to manually setup your Office 365 experience.
- After the app has installed it will first collect discovery information about your current setup and make recommendations for how to best move forward to setting up Office 365.
- After you accept deployment recommendations, the app will run automated readiness checks to make sure your environment is ready to move to Office 365. Readiness checks will alert you to potential issues that can block deployment and help you fix them.
- Setup assistant dashboard will list overview topics that help you review the next steps, and it will also list procedures that you will need to step through to complete your setup.
Step 3. Prepare for Migration
Configure Outlook Anywhere on your on-premises Exchange server – The e-mail migration service uses RPC over HTTP, or Outlook Anywhere, to connect to your on-premises Exchange server. For information about how to set up Outlook Anywhere for Exchange 2010, Exchange 2007, and Exchange 2003, see the following:
- Exchange 2010: Enable Outlook Anywhere
- Exchange 2007: How to Enable Outlook Anywhere
- Exchange 2003: Deployment Scenarios for RPC over HTTP
- How to Configure Outlook Anywhere with Exchange 2003
Important: Your Outlook Anywhere configuration must be configured with a certificated trusted by a certificate authority (CA). It can’t be configured with a self-signed certificate. For more information, see How to Configure SSL for Outlook Anywhere.
Assign the migration administrator permissions to access mailboxes in your Exchange organization The on-premises account that you use to run a migration batch must have the necessary permissions to access all user mailboxes. You can assign the Full Access permission for individual mailboxes or assign the Receive As permission for a mailbox database. For more information, see the following:
Cutover Exchange migration
For a cutover migration, the migration administrator account must be:
A member of the Domain Admins group in Active Directory in the on-premises organization or
Assigned the FullAccess permission for each on-premises mailbox 0r
Assigned the Receive As permission on the on-premises mailbox database that stores the user mailboxes.
Staged Exchange migration: For a staged migration, the migration administrator account must be
A member of the Domain Admins group in Active Directory in the on-premises organization or
Assigned the FullAccess permission for each on-premises mailbox AND the WriteProperty permission to modify the TargetAddress property on the on-premises user account or
Assigned the Receive As permission on the on-premises mailbox database that stores the user mailboxes AND the WriteProperty permission to modify theTargetAddress property on the on-premises user account.
IMAP migration: For an IMAP migration, the CSV file for the migration batch must contain-
The user name and password for each mailbox that you want to migrate or
The user name and password for an account in your IMAP messaging system that has the necessary administrative privileges to access all user mailboxes. To learn whether your IMAP server supports this approach and how to enable it, see the documentation for your IMAP server.
Remote move migration in Exchange hybrid deployments: For remote move migrations, the migration administrator account must be-
A member of the Domain Admins group in Active Directory in the on-premises organization or
A member of the Exchange Recipients Administrators group in Active Directory in the on-premises organization or
A member of the Organization Management or Recipient Management group in Exchange 2010 and Exchange 2013
- Use the EAC to assign the Full Access permission

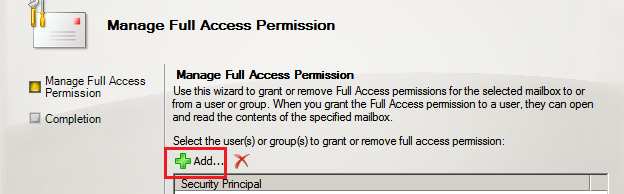
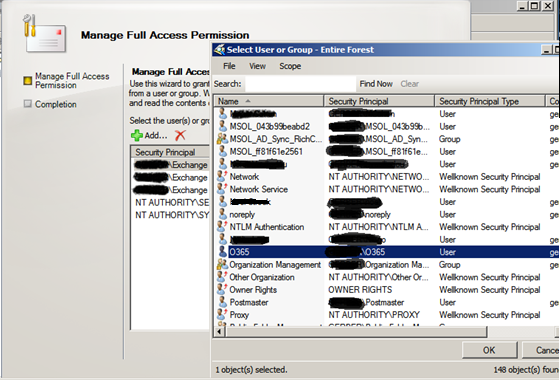
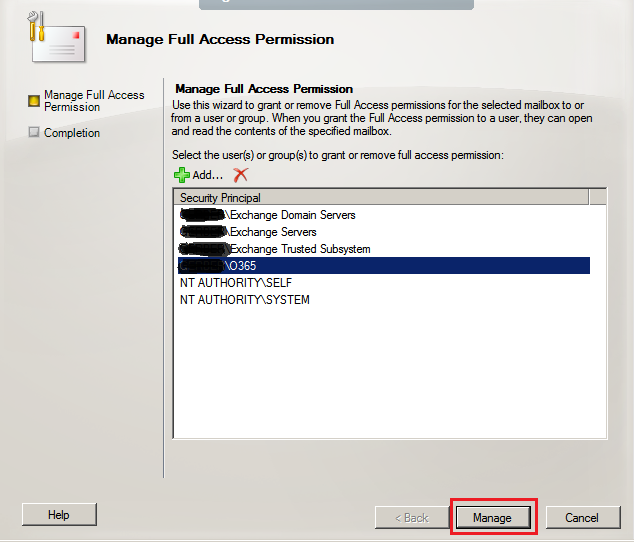
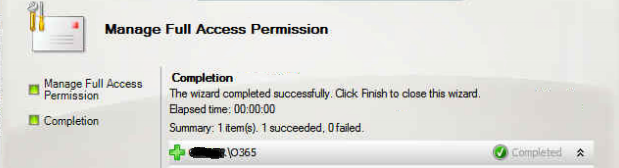
- Use the Shell to assign the Full Access permissionThe following examples show different ways to use the Add-MailboxPermission cmdlet to assign the Full Access permission to the migration administrator account for mailboxes in your on-premises organization.This example assigns the migration administrator account (for example, migadmin) the Full Access permission to the mailbox of Terry Adams.
Add-ADPermission -Identity “Mailbox Database 1763498182” -User migadmin -ExtendedRights receive-as

- Use the Shell to assign the WriteProperty permission
Add-ADPermission -Identity “Mailbox Database 1763498182” -User o365 -ExtendedRights receive-as

- Use the Shell to assign the WriteProperty permission
Get-User -ResultSize unlimited -Filter {(RecipientTypeDetails -eq ‘UserMailbox’)} | Add-ADPermission -User migadmin -AccessRights WriteProperty -Properties TargetAddress
Step 4. Prepare for Migration Endpoints
Before you start creating migration endpoint, ensure that MRSProxy is enabled in your on-premise exchange server
- Use the EAC to enable the MRS Proxy endpoint on Exchange Server 2010
- In the EAC, navigate to Recipients > Servers > Virtual Directories.
- In the Select server drop-down list, select the name of the Client Access server on which you want to enable the MRS Proxy endpoint. Or select All servers to display the virtual directories on all Client Access servers in your organization.
- In the Select type drop-down list, select EWS to display the Exchange Web Service (EWS) virtual directory for the selected server.
- In the list of virtual directories, click EWS (Default Web Site) for the Client Access server that you want to configure, and then click Edit .
- On the EWS (Default Web Site) properties page, select the Enable MRS Proxy endpoint check box, and then click Save.
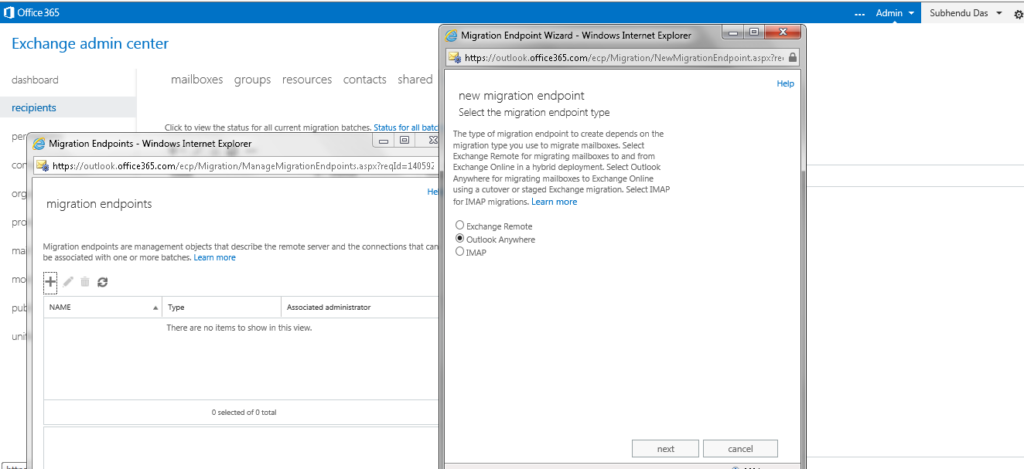
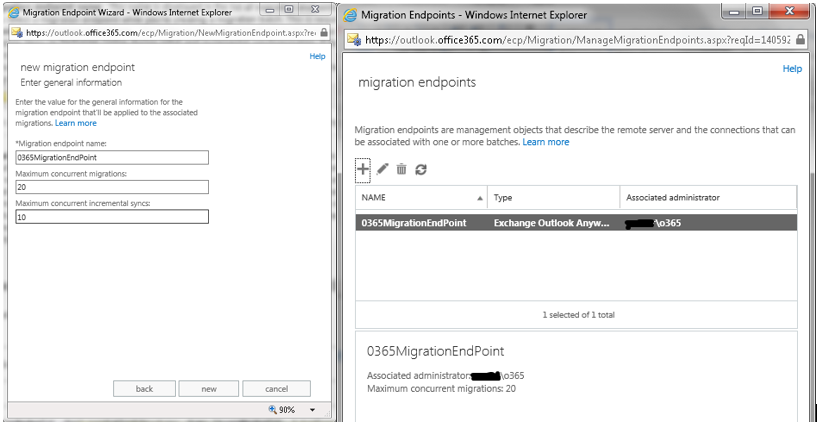
Step 5. Create Migration Endpoints
- Open up the Office 365 Exchange Administration Console and go to Recipients > Migration > More > Migration endpoints and click on the plus sign to add a new endpoint.
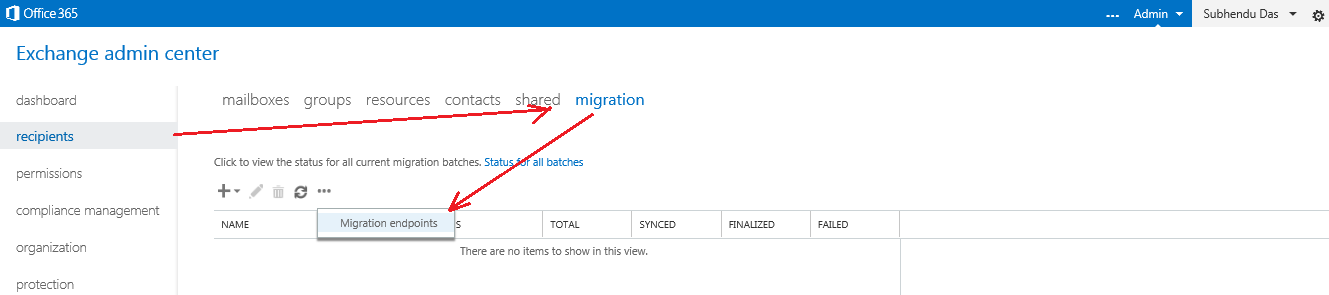
- Select the outlook anywhere type for migration endpoints.

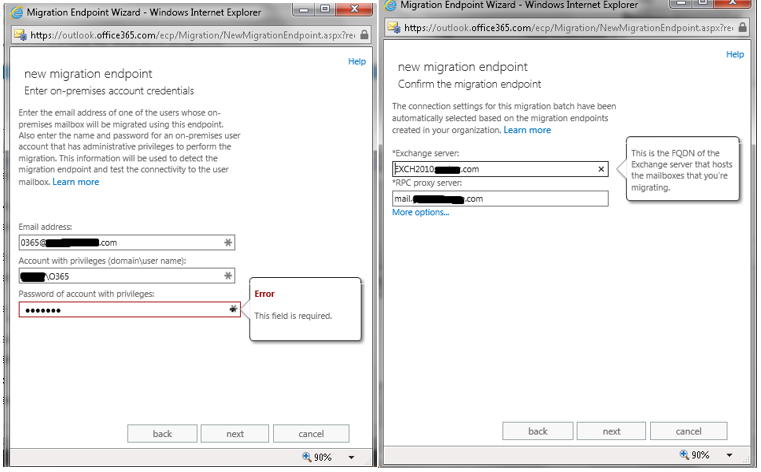
- Enter the mail box and on-premise domain admin credential
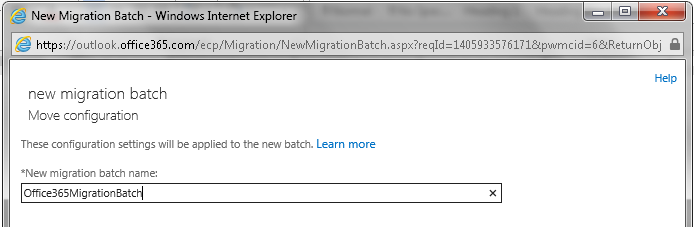
Step 6. Create cutover migration batch
- In the EAC, navigate to Recipients > Migration.
- Click New + and then click Migrate to Exchange Online.

- Select the migration Type – Cutover batch

- The new batch creation automatically detects the servers from the previously created endpoints.
- Configure the connection settings

- Name the migration batch
- Select manually start the batch which can give you control to start at a convenient time if any other Migration preparation is left pending. Also provide a list of recipient to get notified on completion of the Batch and click new to finish creation.

- Start the migration batch

- Once the batch is started, it may take considerable amount of time depending on the mail box volume. The migration dashboard will show status (syncing.)

- Automatically detect connection settings with Autodiscover
- Manually specify connection settings
Once the Migration Batch has executed, look for any error for which sync is not successful. These needs to be resolved so that all user’s mail boxes are migrated successfully.
In Blogs to follow, we will look into how to get the final migration steps completed:
- Errors in Cut-Over Batch execution
- Configure your MX record to point to Office 365
- Post Cutover Migration Task and exchange decommissioning


The fact that Microsoft will not allow migration with a self signed certificate is ponderous. One of the reasons of moving to Office 365 with Exchange is to eliminate the need deal with these kinds of things. If OWA is functioning fine with mobile devices, then the migration wizard should be able to import mailboxes with the proper URL, server name and administrative credentials. Just another example of Microsoft coming up with a great tool and then destroying it’s usefulness with some arbitrary restriction.
“The fact that Microsoft will not allow migration with a self signed certificate is ponderous”
I concur, but understand the need for security during the migration process. You can get a cert with 3 names on it for less that $25 and have it installed and running in only a couple of hours. What’s the big deal?