
Every user synchronized from on-prem Active Directory onto office 365 must use their UPN (UserPrincipalName) to login to any of the O365 services. However if an organization having a very old operational Active Directory probably be using NETBIOS (domain\user) way of login to on premise workstations/applications.
To overcome this, administrators enforces the UPN as the primary way of authenticating with similar user name to both on-prem and cloud.
However, the biggest challenge comes for those users who may be using a different smtp email domains for the same organization thereby having UPN as user@emaildomain.com while their UPN could be user@addomain.com.
To resolve this confusion, administrators decides to change their UPN to match that with their primary email address and thereby requiring changing UPN of O365 federated users.
Here are the simplest ways to accomplish this.
Step 1: Search office 365 users for their present federated UPN

Step 2: Open Azure AD Powershell module
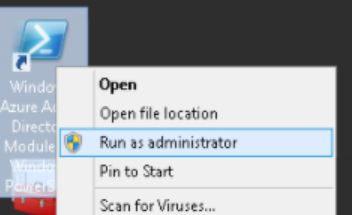
- Open Azure AD powerShell Module in Administrative context
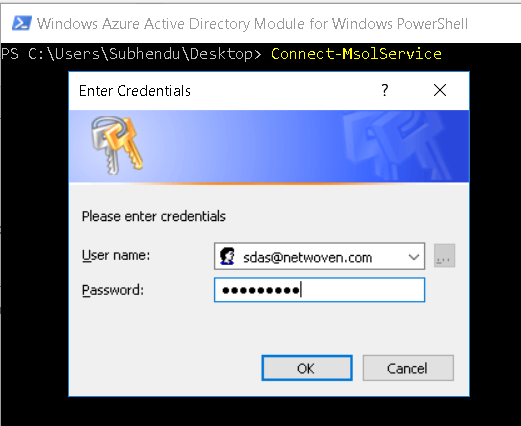
- Connect to Azure AD using the command
Connect-MsolService - Provide Global Admin Credential
Step3: issue the command from Azure AD Powershell module after connecting to Azure AD
Set-MsolUserPrincipalName -UserPrincipalName lsdas@netwoven.com -NewUserPrincipalName sdas@netwoven.onmicrosoft.com
UserPrincipalName – this should be present UPN as shown in office 365
NewUserPrincipalName – New UPN must use the default domain for your O365 tenant. (i.e. username@company.onmicrosoft.com)
Step4: Check office 365 to ensure that user’s UPN has been changed to office 365 default UPN
Step5: Go Back to you on premise AD and change the UPN of the user as desired.
Step6: Run manual force full directory sync by running the command: This depends on the type of Directory synchronization tool deployed in your organization
Azure AD Sync Tool:- you must run the following command from dirsync installation directory c:\Program Files\Microsoft Azure AD Sycn\Bin
.\DirectorySyncClientCmd.exe initial
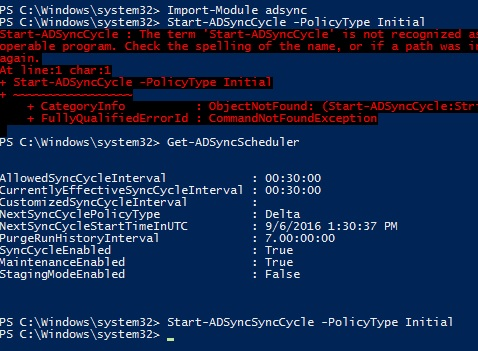
Azure ADConnect Tool: Open Windows Powershell and run the following command:
Import-Module adsync

Start-ADSyncSyncCycle -PolicyType Initial
Step7 : Now go back and re-check the UPN in office 365 if they have been synced from the AD
You are all set now for the same user to use new UPN


If connecting to msolservice fails, install msonline first! Eg:
Install-Module msonline