In a very recent project, we came across a requirement to create an Azure Active Directory group from a NINTEX workflow running in the Office 365 (O365) environment. NINTEX don’t have any such direct component in O365 to support this at the present moment.
Nintex helpdesk mentioned us that for the time being they do not support it, but we can try this out by webservice or REST call. And that is the only clue we had, and from there we implemented the solution as per our client requirements.
Solution to Add/Edit/Delete Azure AD Groups involves a four-step process:
Step 1: Having an app registration in Azure that will have the rights to create, update, delete Azure AD group.
Step 2: Getting TENANT ID, APP ID and CLIENT SECRET while registering the App.
Step 3: Authenticate user through web request and get hold of bearer token that will be used in successive web request calls.
Step 4: Use web request to create a group.
To get started and crack a perfect solution – Let’s discuss Step 1 and Step 2 in this blog and in the next blog we will discuss Step 3 and Step 4.
Step 1: App Registration in Azure
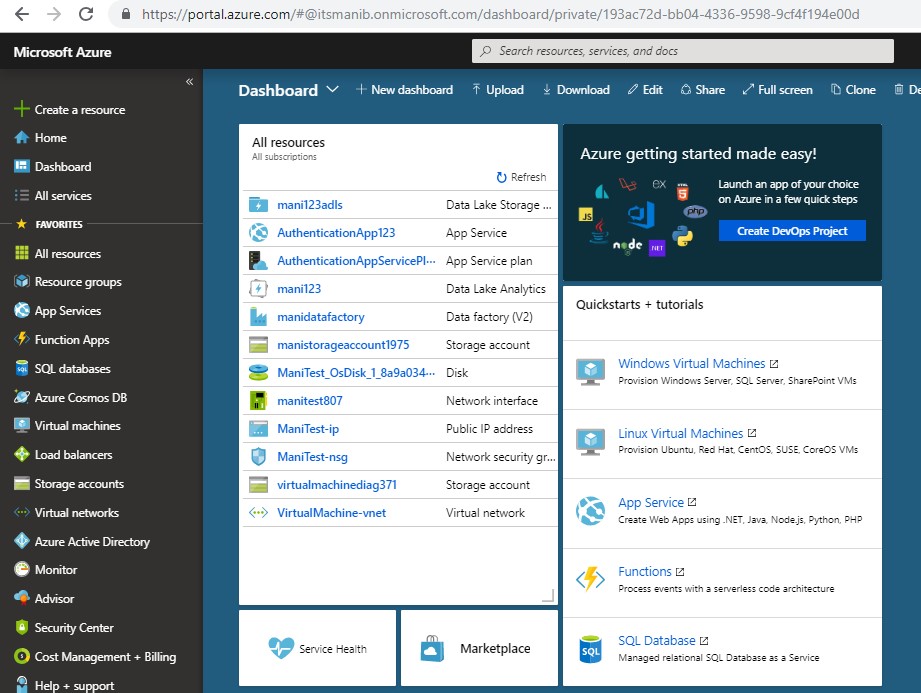
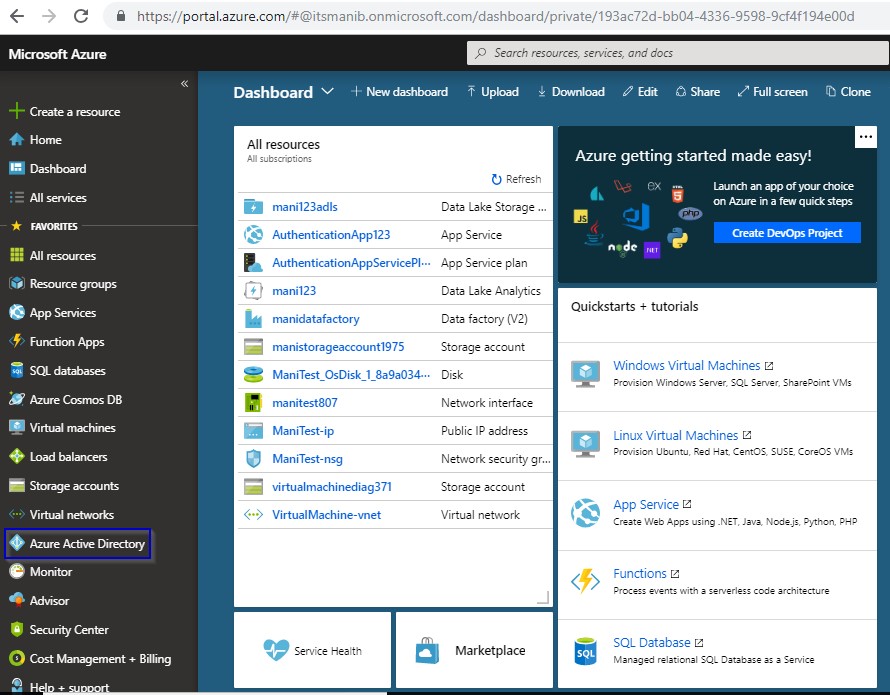
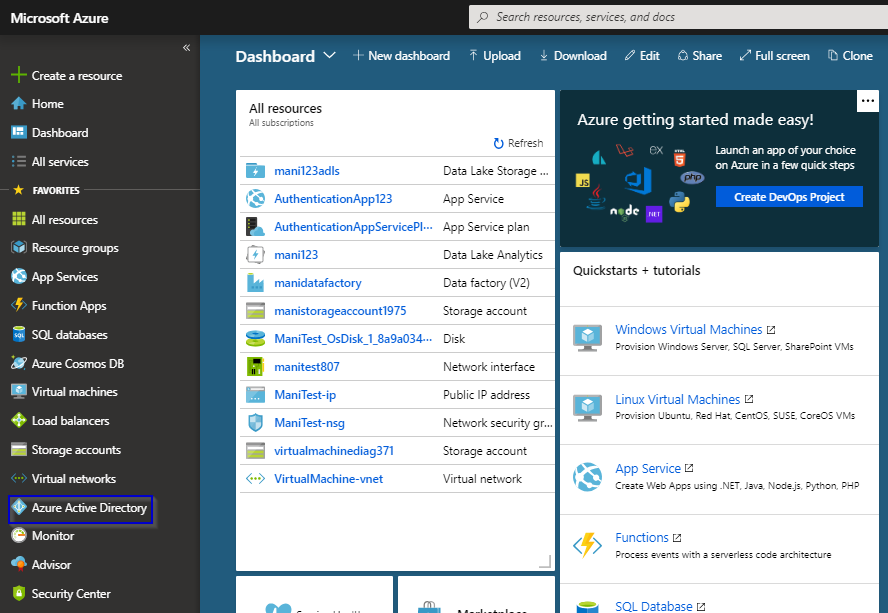
1.1 Login to “portal.azure.com”
Enter admin ID and password to enter to the portal:

1.2 After successful login you will land up at this page as follows:
1.3 Click on Azure Active Directory.
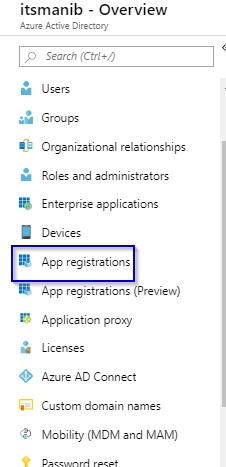
1.4 Click on App Registrations
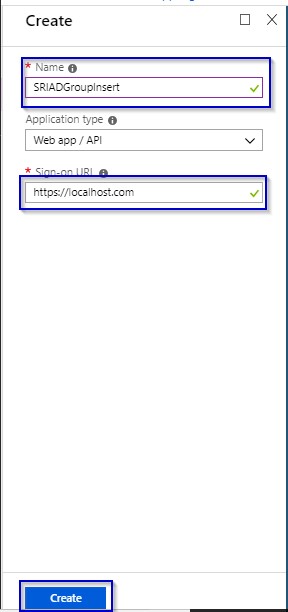
1.5 Click on New application registration.

1.6 Provide the values and click on “Create” button.
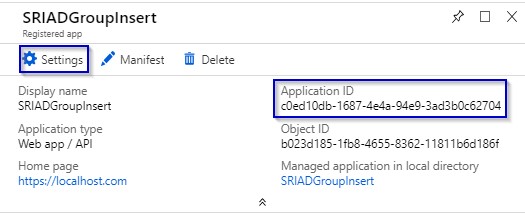
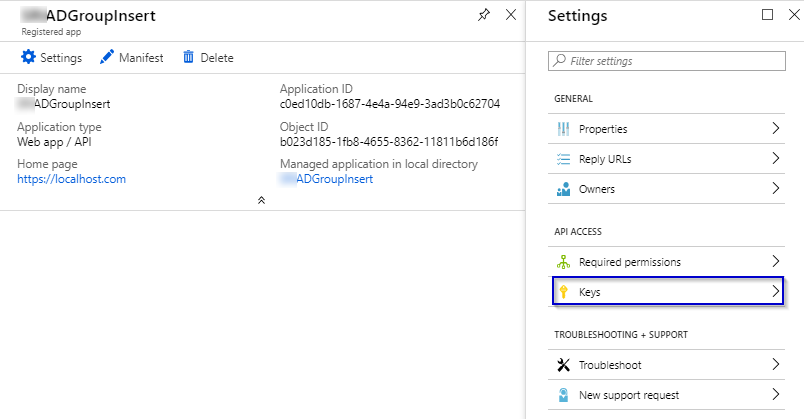
1.7 Keep note on the Application ID displayed in the next window and click on Settings.
1.8 Click on Keys.
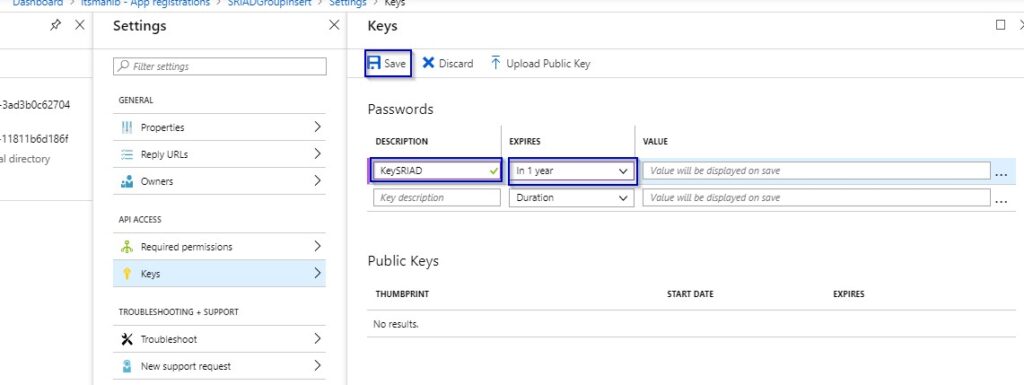
1.9 Fill up the DESCRIPTION and set the date under EXPIRES column and hit on “Save” button.
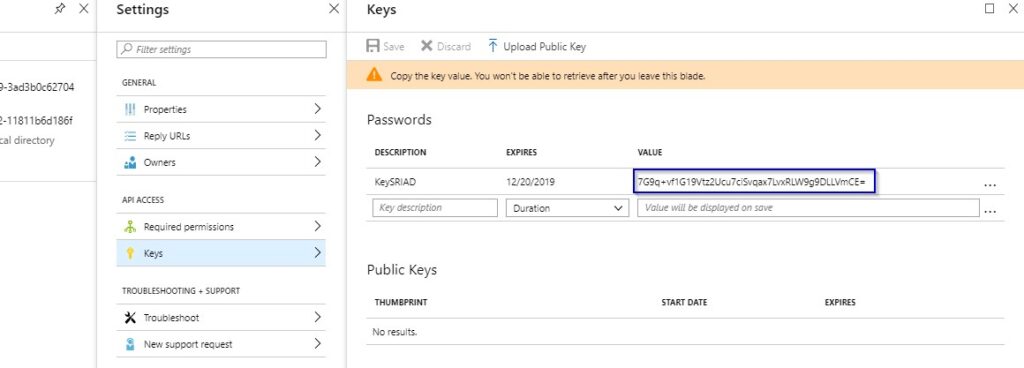
1.10 Copy the Key Value and keep it in a safe place. It will be required as Client Secret in the workflow. Once you close this window this key will not displayed again.
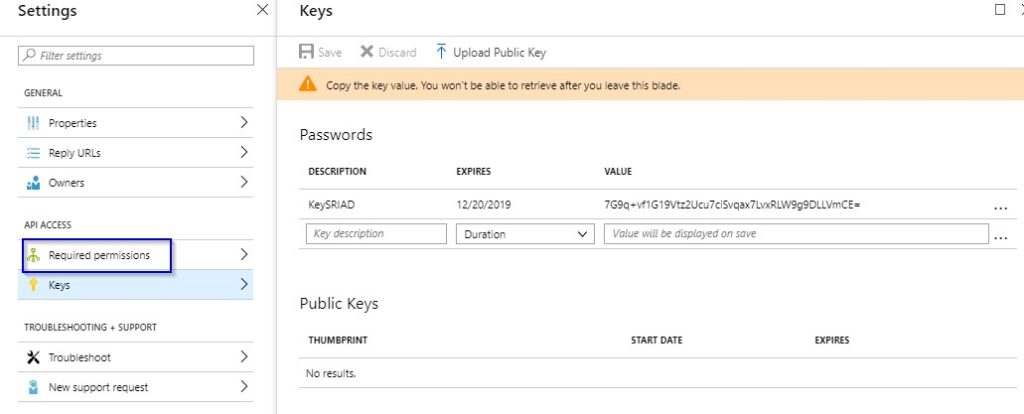
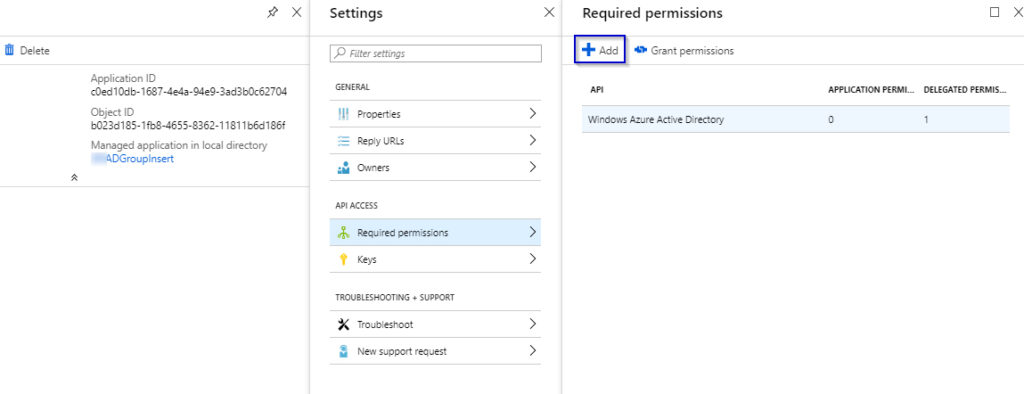
1.11 Click on Required Permissions
1.12 Click on “Add” button
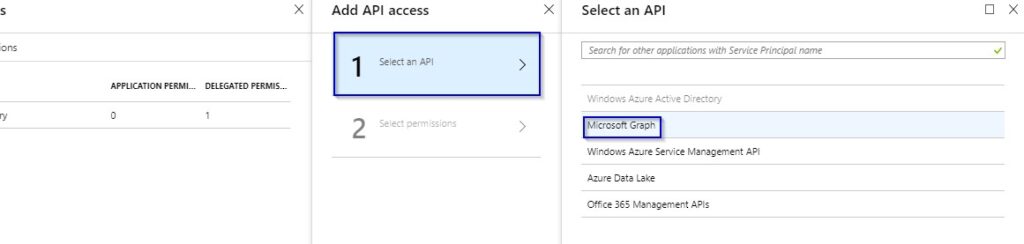
1.13 Click on Select an API and select Microsoft Graph
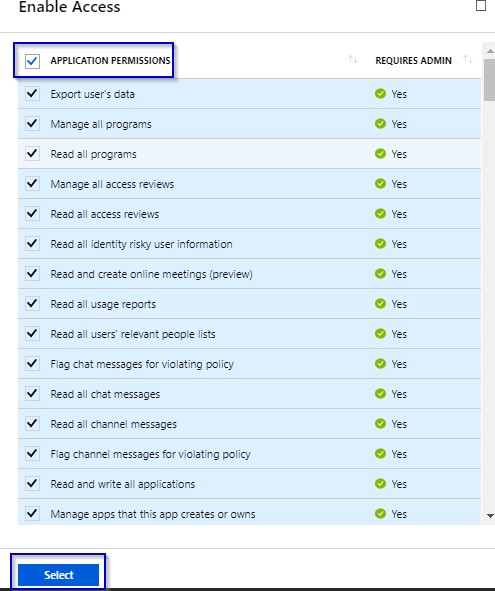
1.14 Check the APPLICATION PERMISSIONS check box and click on “Select” button.
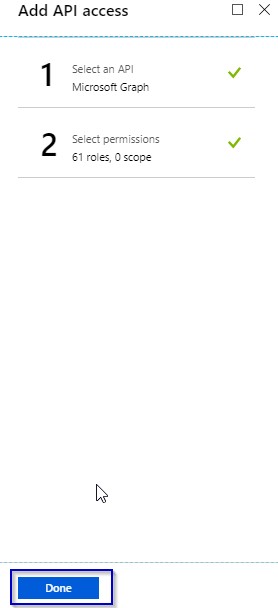
1.15 Click on “Done” button
1.16 Now select on Windows Azure Active Directories
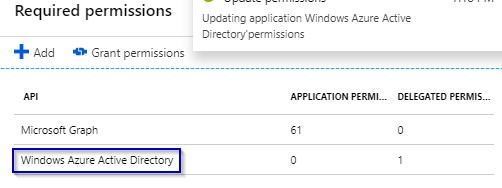
1.17 Check two DELEGATED PERMISSIONS as follows:

1.18 Save, Close and Click on Azure Active Directory once again
1.19 Click on Properties
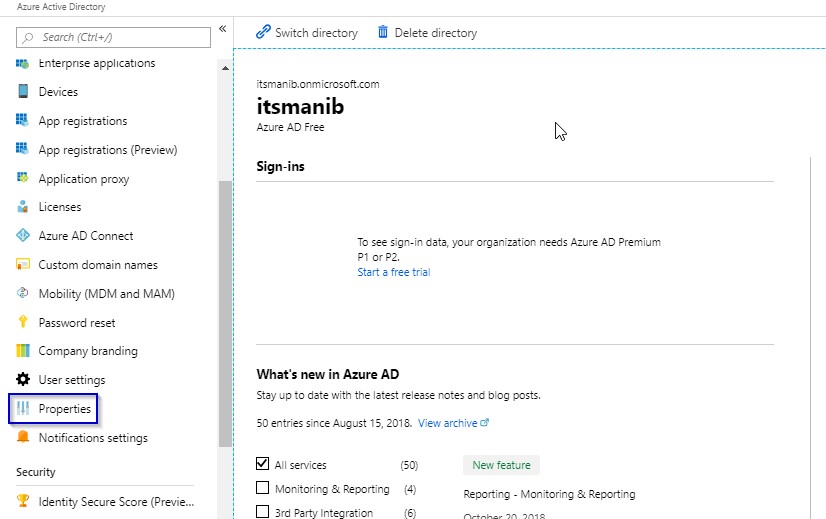
1.20 Copy the Directory ID which will be the tenant ID in our case to run the workflows

Step 2: Getting TENANT ID, APP ID, and CLIENT SECRET while registering the App
2.1. TENANT ID: Keep the copy of Directory ID from Step 1.20
2.2. APP ID: Keep the copy of Application ID from Step 1.7
2.3. CLIENT SECRET: Keep the copy of Key value from Step 1.10
Walk-through Video
Wrapping Up
In this blog, we have seen how to register an App in Azure that has access to Graph API (REST Endpoints) to create, update, delete Azure AD group. We have also seen how to get Client ID, App ID, and Client Secret after registering an APP in Azure that will be used in the subsequent section to access the REST endpoints from O365 Nintex workflow.
As mentioned at the beginning of the blog that the creation of the Azure AD group by O365 involves a four-step process. We have described two steps distinctly in this blog. For the other two steps refer Part 2, and crack a solution to this glitch.